
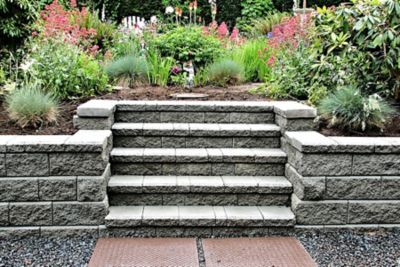
The creation of visually pleasing exterior landscapes like small garden walls and edgings is an ideal extension of one’s personal living space. Loctite® PL® Landscape Block Adhesive is the ideal adhesive for these projects. The blocks used in wall systems are interlocking. Using an adhesive to bond each unit together and attach the capstone creates a strong connection between the individual units and prevents sliding and bulging of the wall.
Step-by-Step Directions
- After completing the number of courses of interlocking blocks to achieve the appropriate wall height and after back-filling and compacting the soil, it is time to secure the final course of capstones on top of the wall to cover empty spaces and give a finished look.
- Cut and dry-fit capping units before applying Loctite PL Landscape Block Adhesive. Cut the nozzle tip at a 45° angle to desired bead size. Place cartridge in a caulking gun and puncture the inner seal. Apply two beads of Loctite PL Landscape Block Adhesive, one 2” (5 cm) in from the front and one 2” (5 cm) in from the back of the cap to be installed.
- Replace the capstone and apply pressure to secure, making sure all cap blocks are aligned and level.
Tips
- When building 90° inside or outside corners in a retaining wall system, always use Loctite PL Landscape Block Adhesive on all interlocking corner blocks.
- Loctite PL Landscape Block Adhesive is an exterior, heavy-duty, premium quality adhesive designed to meet any landscaping need. It delivers a quick and easy solution for landscaping projects, such as securing block walls and capstones and for bonding brick, stone, timbers, concrete, metal and wood.
LOOKING FOR HOW TO’s AND INSPIRATIONAL IDEAS?
Explore further projects, find advice and tips and tricks within our Build articles section.

