
Add a little spice to your space with this easy project!
Three-wick candles are so last season. Candle sticks placed in decorative holders are a unique way to give your living room a little personality. And they’re easy to make yourself!
Inspired by quirky retro designs from the 60s and 70s, our friend Brit (@britdotdesign) had been wanting to create her own candle holders for quite some time. She let us follow along when she finally decided to make it happen.
Watch Brit’s process in the video below.
For a written breakdown explaining how Brit constructed her candlestick holders, take a look at the steps below!
What You’ll Need:
- Candlesticks
- Small wood dowels (½ inch long)
- Oven bake clay
- Acrylic paint
- Paintbrush
Directions

1. ROLL CLAY INTO TWO-INCH BALLS
Take your oven bake clay out of the package and work it until it’s fairly flexible. Roll the clay into two-inch balls. The number of clay balls you need depends on how many candle holders you intend to make, and how tall you want each one.
Britt made two candle holders, one five balls high, and one three balls high to create an asymmetrical design.
2. ATTACH PIECES WITH WOODEN DOWELS
Place a wooden ball on a flat surface and press a wooden dowel into the top of it. Press another clay ball on top of the dowel to create a tower. Stack as many balls as you want to create your candle holder’s height.
3. CREATE SPACE FOR THE CANDLE
Once you have created and stacked your clay balls, take one of your candlesticks and press the bottom of it into the topmost clay ball on each of your holders. Press about an inch or so down into the clay to make an impression. This is where your candle will sit in your finished product, and you don’t want it to tip over or fall out!
4. BAKE CLAY
Take all clay balls apart and remove the wooden dowels before baking. Bake according to the directions on your clay’s packaging.
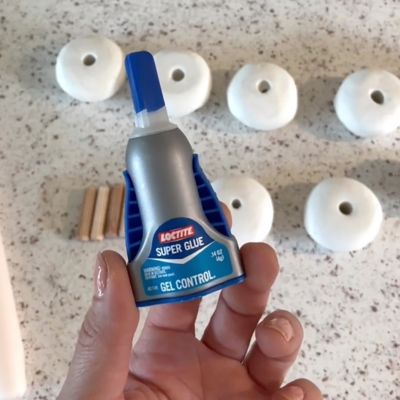
5. ASSEMBLE YOUR CANDLE HOLDER
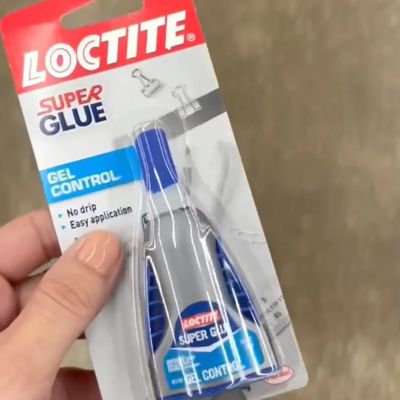
Take your cooled, dry pieces of clay and wooden dowels and assemble them back into a stack using Loctite® Super Glue Gel Control. A good adhesive is crucial to ensure the pieces of the candle holder won’t come apart. Loctite® also goes on clean without dripping all over your work. It’s one of Brit’s favorite glues to use for projects where she needs to adhere clay, leather, paper, wood - it works on all of them!
Attach all clay pieces and dowels together the same way they were before you disassembled to bake. Let dry.
6. PAINT
Paint the candle holder in the color of your choosing. Brit went with a medium brown color to complement the decor in her living room.
7. PLACE YOUR CANDLES AND ENJOY!
Once your paint dries, this DIY is good to go. Place your brand new, funky decorations somewhere all your guests will have a chance to admire them and add the candle on top. Brit chose the credenza in her home.